
Your cart (0)
Your cart is empty
Tax included and shipping calculated at checkout
Your cart is empty
Tax included and shipping calculated at checkout

Last Updated: October 2, 2026
A ball mark left unrepaired can take weeks to heal; one fixed within minutes recovers in days. That's why learning how to properly repair golf green ball marks matters, the putting surface is the most delicate part of any course, and every golfer who lands a shot on it shares the job of keeping it smooth.
A ball mark is the depression left when a golf ball lands on the putting surface and displaces the turf. The grass isn't dead.
The best ball mark repair tool is one that's always with you, has two sturdy prongs, and fits comfortably in your hand.
You have a few real options:
Handle shape decides whether you'll actually use the tool. A flat, wide grip spreads pressure across your fingers; a narrow metal handle digs into your palm on hard greens. Spike design matters just as much: two prongs spaced about a centimeter apart let you work soil inward without tearing surrounding turf, while three or four prongs can be too wide for a small mark.
Using a divot tool correctly means working the prongs inward from the edges of the mark, never prying up the center.
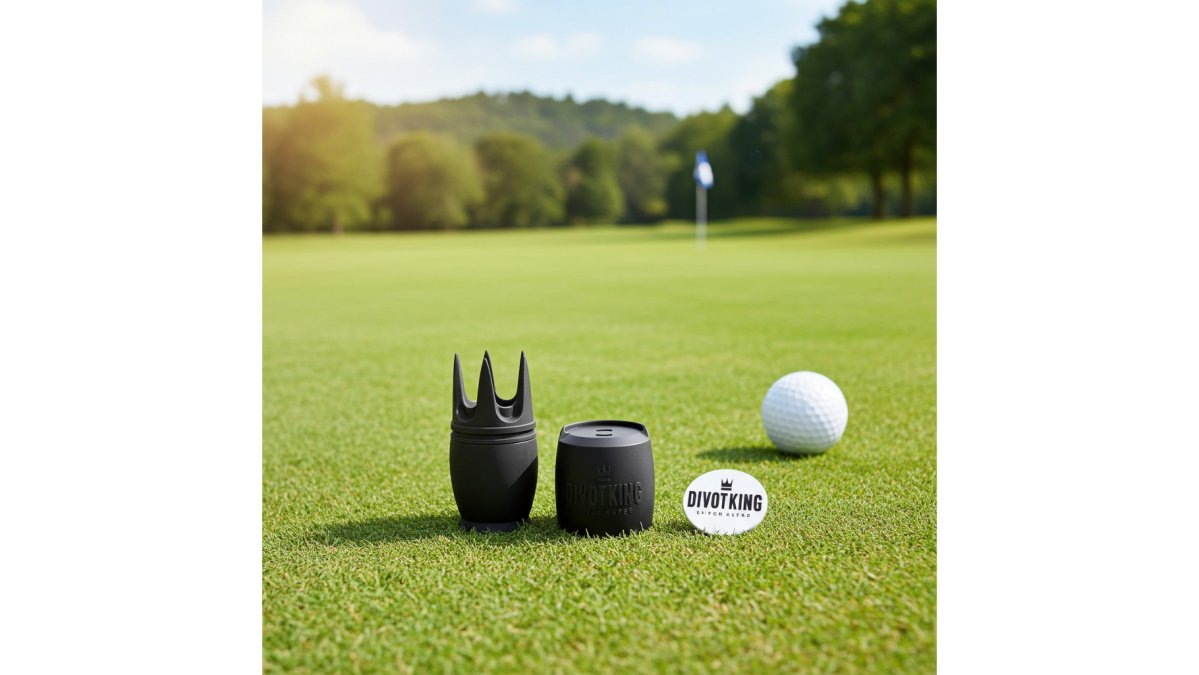
Here's the full process, step by step.

Look at the mark before you touch it. Is it a shallow scuff or a deep crater? Is the soil soft from rain or baked hard by the sun? On soft, moist soil, the prongs slide in easily and the turf springs back fast. On dry, hard ground, push gently and work in small increments, forcing the tool tears the roots you're trying to save.
Push the prongs into the soil at the edge of the mark, angled slightly toward the center, then push the soil inward, not upward. Repeat around the rim, working outside toward the middle on all sides, to move soil back into the crater and lift the crushed turf so the roots sit level with the surrounding surface.
Once the soil is worked in, press the surface flat with your putter sole or your foot. You want the repaired spot level with the rest of the green.
Then step away and read your putt.
Prying up the center of a ball mark is the most common mistake on the green, and it kills the grass. Jam a tool under the middle and lever upward, and you stretch and snap the roots still holding on.
Here's the difference in plain terms:
| Repair Method | What Happens to the Turf | Recovery Time |
|---|---|---|
| Prongs worked inward | Roots reconnect, soil fills the crater | A few days |
| Center pried upward | Roots tear, turf lifts off the soil | Weeks, or dies |
| Left unrepaired | Grass smothers, patch goes bare | Weeks to reseed |
Golf course etiquette around ball marks comes down to one rule: fix yours, and fix one more. A green takes hundreds of pitch marks in a single day of play, and no maintenance crew can keep up.
Some practical etiquette points:
Most guides say the technique is the same everywhere. That's half true. The motion, prongs in at the edges, soil worked inward, surface tamped flat, doesn't change. What changes is how much force you use, how deep you push, and how long the green takes to knit back together. Those differences come down to grass growth habit and soil moisture.
Bentgrass, the fine-bladed turf common on cool-season courses in the northern U.S. and coastal regions, spreads by stolons and tillers that creep along the surface. Its roots are shallow, often only a few inches deep, and it recovers by lateral growth, so a ball mark heals from the edges inward and surrounding turf must stay intact. Push your prongs too aggressively and you sever the stolons that would have filled the crater.
The biggest variable in how a ball mark repairs isn't the grass, it's the water in the soil. On a soft, moist green after rain or morning irrigation, the prongs slide in with almost no effort, displaced soil moves back into the crater easily, and the turf springs level with a light tamp. On a dry, firm summer green, the same motion requires real force, and force tears roots.
The Golf Course Superintendents Association of America consistently notes that turf recovery depends on soil moisture and temperature, which is why the same tool and the same motion need a lighter touch on a dry August green than on a soft April one. Reading the conditions before you push the prongs in is the difference between a repair and a setback.
A ball mark that won't heal smoothly almost always traces back to one of three causes: torn roots, compacted soil, or a surface that wasn't leveled after repair.
Bumpy or crowned surface. The soil was pushed in but never tamped flat. Press the spot down with your putter sole or foot, then run your hand across it. If you feel a ridge or dip, work the edges again and re-tamp, a mark sitting even a few millimeters proud will deflect putts for days.
Here's the scenario most guides skip. You walk onto a green and find a ball mark that's days old, turf yellowing, edges crusted, center starting to collapse. It's not yours, but it's there.
A proper divot tool with spikes helps in the compacted-soil case because it aerates as it works, but no tool fixes torn roots.
Insert your divot tool's prongs at the edge of the depression and push the surrounding turf toward the center using an inward motion. Work around the mark, then tamp the area smooth with the flat bottom of your tool. Never lift the center of the mark, as this tears roots and slows healing. This method restores the putting surface and helps the turf recover quickly.
Unrepaired ball marks can take weeks to heal and leave dead patches that disrupt the putting surface. Repairing them immediately helps the turf recover in a few days, keeps greens smooth for everyone, and prevents soil compaction. It's also a basic part of golf course etiquette that every player should follow to protect the course.
No. Lifting or prying the center pulls grass roots out of the soil, which kills the plant and creates a scar that takes much longer to heal. Always push the edges of the mark inward toward the center instead. This keeps the root system intact and lets the grass blades knit back together naturally.
A dedicated divot tool with two prongs and a flat tamping surface works best. Look for ergonomic handles that fit your hand and sturdy metal that won't bend. Some golfers prefer an all-in-one accessory like the Divot King, which clips to your putter grip and includes a magnetic ball mark, so you always have a repair tool ready without digging through your bag.
Every golfer leaves a mark on the green eventually. The question is whether you leave it better than you found it. A putter-mounted tool like Divot King keeps repair gear on your club, not lost in your bag, with a magnetic ball mark, a universal sleeve adapter that fits most putters, and a protective cover for storage. Get yours and keep every green you play in pristine shape.